Economic DIY NAS
Like many others who are interested in computers and have a lot a data to store, I got myself a Network Attached Storage (NAS) appliance. My main reasons for using a NAS instead of cloud storage or Direct Attach Storage (DAS) are:
- Storing my data locally means that Google or Microsoft cannot access my personal files.
- No subscription means that if I have financial hardship, I still have all my files, even if I were unable to pay a subscription fee.
- Since the data is transferred locally instead of over the internet, my files can still be accessed even when internet is poor or non-existent.
- Unlike DAS, a NAS filesystems can be accessed my multiple computers, even simultaneously.
- A NAS can perform regular scrubbing to avoid bitrot.
Since a proper prebuilt NAS, even diskless, is relatively expensive, I decided to go the DIY route instead. I ended up using an old Dell Vostro with an i5-2400 and 12 GB of ddr3 ram and I put TrueNAS on it to use the resilient ZFS filesystem. I purchased two new 4TB hard drives to use RAID1 and be protected from a single disk faliure. While this NAS setup worked absolute wonders, being reliable and fast, the Dell Vostro was complete overkill for my needs as well as taking up a ton of space and being really power inefficient. Since data transfer speeds are not too important for my use-case, I decided I would use some sort of SBC instead.
Choosing the right SBC for the job is not as easy as it used to be, considering how many are available since the Raspberry pi became popular. There are x86 SBCs, compute modules with almost any carrier board you can think of and SBCs with full, fat, PCIe slots. I’ve read online that connecting to hard drives using USB to SATA adapters can cause many problems, so I decided that whatever SBC I chose must have proper support for SATA, which most SBCs accomplish using a PCIe to SATA chip on the board. After looking around, I discovered Hardkernel’s Odroid line of boards. They had two options that looked very promising: their Odroid H4-PLUS and the Odroid HC4. These were compelling options for several reasons:
- They both had proper SATA support.
- They both could provide their own power to the 3.5 Inch hard. drives I was using, cutting down significantly on complexity
- There is a local Hardkernel distributor, CorpShadow, that meant shipping costs would be low and I was helping out a business in the same region.
The Odroid H4-PLUS is an x86 based SBC which is modern enough to use DDR5 SODIMM memory and since it’s x86, I could continue to use TrueNAS. The HC4 is a more compact ARM based board with 4 GB of LPDD4 memory, but I would be limited to normal Linux since TrueNAS is x86 exclusive. Since I figured that the HC4 would be enough for my use case and I didn’t need any features exculsive to TrueNAS, I ended up choosing the HC4 to run Open Media Vault on top of Armbian. While OpenMediaVault can technically use ZFS, I ended up using BTRFS since it’s better supported on Linux and good enough for me.
The Odroid HC4 comes with a basic toaster-style encosure that with a single 3d bracket, is able to hold the hard drives semi-rigidly. Unfortunately, this enclosure has several problems:
- The hard drives are not actually secured in place. If the NAS falls over, it could rip the SATA connectors right off the HC4.
- The enclosure uses a tiny 40mm fan for cooling that is quite loud and annoying, which is a problem given that I sleep in the same room.
- The enclosure has a wide base, with the purpose to prevent the whole thing from falling over.
With all the problems with the included case, I decided that I would make my own enclosure.
I first considered a 3d printed enclosure. There are a few designs for the HC4 that are able to accommodate a fan and the two 3.5 inch hard drives. The problem with 3d printed enclosures is that the print can be prone to warping, the prints usually come out somewhat rough, they take a significant amount of filament to print and they are weak on the vertical axis. Since I have access to MDF and a laser cutter though my University, I thought a laser cut case might be a better idea. Since I had only done a few small laser cut projects, I wanted to avoid designing my own case. Hardkernel actually sells their own case fabricated from cut PCBs, but their design requires extra cables to connect the hard drives and as a result have extra dead space inside, and their case uses a thickness of material different than that of the MDF available to me, so I would have to design my own case if I was going to get what I wanted.
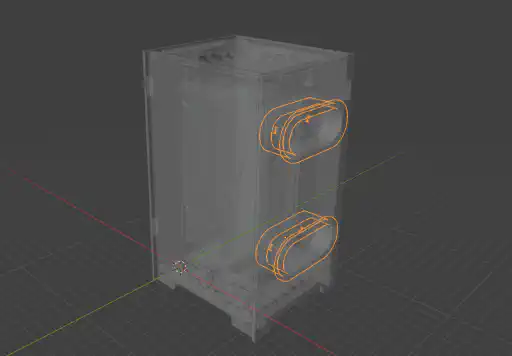
I ended up using Blender to model the case. I started out by getting 3d models of 3.5 inch hard drives, 80mm fan and the HC4 itself. I then used planes with solidify modifiers to construct the case in 3d around the components, making sure to leave room for airflow and ports, before removing the solidify modifiers in order to flatten down the planes to export to an SVG. I ended up using a design that used the screws holding the drives in place to also clamp together the entire case, simplifying the BOM, though this meant some 3d printing is needed. I then added a few graphics to the SVG in Inkscape, set the line thickness to 0.001 inch (that’s what the laser cutter software defines a cut as) and exported to PDF to cutout the 1/8 inch MDF.
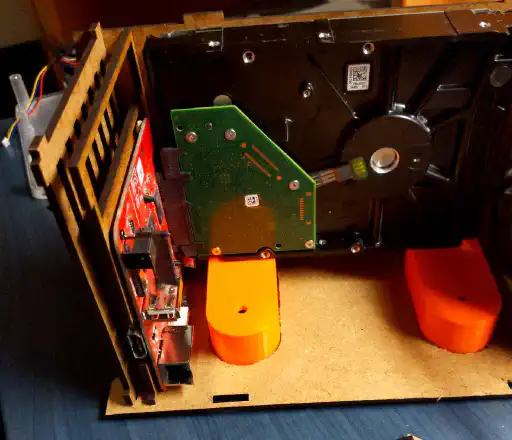
I ended up needing to do 3 revisions to get all the dimensions dialed in just right. The first time, I made the mistake of not taking into account the protruding components on the bottom of the HC4, which I fixed by mounting the HHC4 on laser cut washers. The second time, the spacing between the hard drives and the HC4 were a few mm off, meaning the drives were not making full contact with the connectors on the HC4. On the third try, I nailed the design and everything fit perfectly.
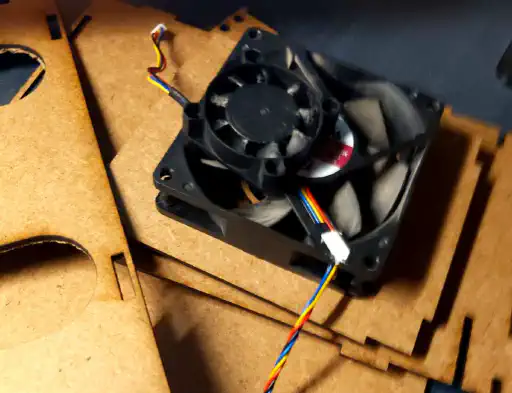
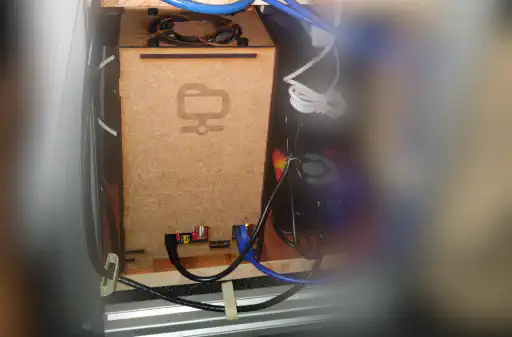
I now have a compact and quiet NAS, partially thanks to the 80mm fan I sourced from an ewaste Dell Optiplex, that is barely bigger that the hard drives themselves. The BOM for the NAS without disks is extremely competitive compared to commercial NAS solutions, with my BOM coming out to around $200 CAD, while commercial NAS solutions are around $400 CAD, while also being more capable thanks to my NAS running Debian. The transfer speed over Samba is definitely not impressive (around 30 MB/s, though NFS brings that up to 50 MB/s), but fine for my use case of storing video, 3d models, and photos.
If you want to make your own, I have the project files for download.